

 LinkBack URL
 About LinkBacks

VoiceOver is a core part of helping people navigate without needing to view their screen. Take this article, for instance: You may be reading this text visually; however, if youre a developer who uses VoiceOver, youll hear this paragraph (and the rest of the article) spoken to you along with verbal descriptions of any important elements you might need to know about. And if youve opened this article in the Developer app, youll also hear about navigational elements in the app.
Whether you personally use VoiceOver or not, heres how you can put yourself in the mindset of those who do to help design a standout experience.
Master accessibility elements in your app
When someone enables VoiceOver on iOS, iPadOS, watchOS, or tvOS, it begins describing all of the labeled elements on screen. To decide what to read, VoiceOver looks for accessibility elements individual or grouped visual elements within a view as well as whether someone can interact with these elements. As it describes an element, VoiceOver also highlights it on screen by displaying a black rectangle around the content.
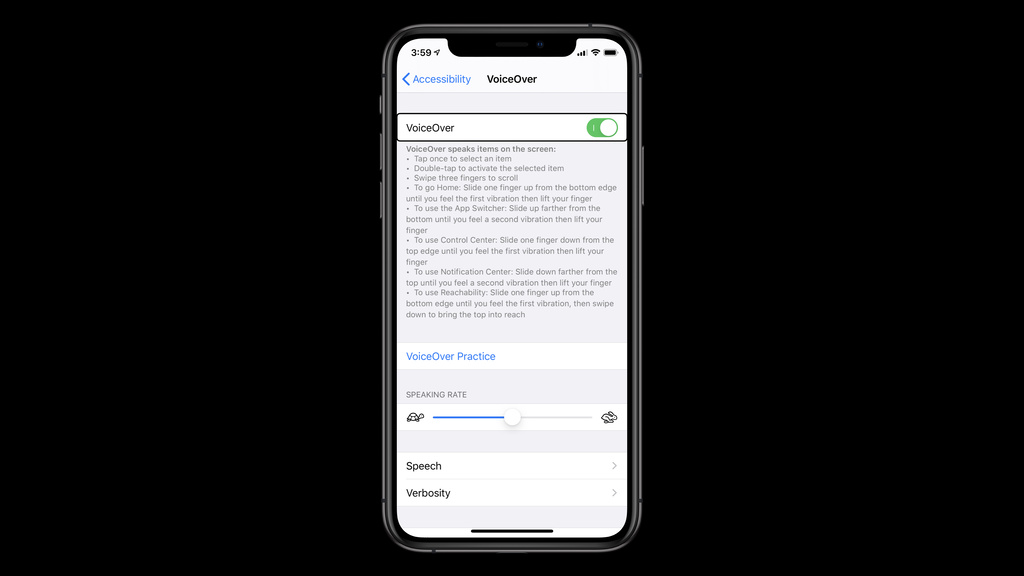
Tip: Explore VoiceOver on your own device
While Xcode provides you with several tools to test your apps accessibility, you can learn a lot about VoiceOver and how various apps have implemented it by taking a test drive on your own iPhone, iPad, Mac, Apple Watch, or Apple TV. You can enable VoiceOver in the Settings app or System Preferences on your Mac, and if you want to have easy access to the feature, you can even enable a hardware-based Accessibility Shortcut.
VoiceOver also adds a few specific multitouch gestures and taps to help people navigate their device. Swiping to the right anywhere on the screen will navigate to the next element in the view, while swiping to the left will navigate to the previous one. Each time VoiceOver lands on a new element, it speaks details like its accessibility label and value aloud, along with hints or traits if the element has any.
Alternatively, people may tap directly on a visual element to navigate to it. If its within the bounds of an accessibility element, VoiceOver will focus on it. Otherwise, VoiceOver will emit a boink sound.
By default, all standard UIKit controls are accessibility elements. To flag a custom control or view as an accessibility element, you can use isAccessibilityElement:
var isAccessibilityElement: Bool { get set }Learn more about accessibility elements >
Group and declutter accessibility elements
When navigating by swiping, VoiceOver visits each element in order of its appearance on the screen. That said, this isnt always the most efficient way for someone to absorb information: If your app has too many accessibility elements, it may take someone a very long time to understand it. Instead, look for opportunities to group your accessibility elements together and create a simplified hierarchy.
When you group your accessibility elements, VoiceOver will describe them together, which can speed up navigation through your app. For example, you might group a view that contains a title, text, and a time stamp label, as with Healths Heart Rate title, heartbeat reading, and time of latest reading.
The Health app uses grouped elements in the Summary view to provide a streamlined experience for people using VoiceOver.
This also helps provide context for someone using VoiceOver that would otherwise be present in a visual interface: By grouping them and having them read together, this lets people know that the time and text are associated with the title, rather than three unrelated items.
Add custom actions
You can assign any accessibility element custom actions, which provides extra functionality. For example, if you use Mail without VoiceOver enabled, you can tap on a message inside the inbox to view it, but you can also swipe left or right on an individual message to access other features like deleting, flagging, or moving a message. Custom actions let people who use VoiceOver have access to those same features in a different manner: When VoiceOver focuses on the message element, it speaks the hint Actions Available: Swipe up or down to select a custom action. Once you arrive at the action you want, you can double-tap to perform it.
Fun fact: When you implement leading or trailing table view swipe gestures in your app, you automatically get VoiceOver actions for these buttons in your project.
Custom actions are very powerful when combined with grouped elements and can help simplify your navigable hierarchy. If you have a view as an accessibility element that has multiple buttons as subviews, for example, you arent always able to navigate to those buttons with VoiceOver. While it might be tempting to break up this up into smaller elements and allow buttons to become individually focusable, this may add clutter.
We strongly recommend using Custom Actions to expose these button actions, letting you keep the elements organization while still providing full controls to someone using VoiceOver. When you carefully group your elements and add custom actions, it creates a better overall navigation experience and will make your app far more enjoyable for people who rely on VoiceOver.
To set a UIAccessibilityCustomAction on your accessibility elements, you can use accessibilityCustomActions:
var accessibilityCustomActions: [UIAccessibilityCustomAction]? { get set }Learn more about custom actions >
Flag layout changes
Your app may change its layout visually to indicate the result of an action or event. In the Shortcuts app, for example, tapping the + button brings up components that will help someone build a shortcut. For people who use VoiceOver, you can use the screen changed or layout changed notifications to guide their focus to the new elements.
The Shortcuts app plays a screen changed notification after someone selects the + button.
Its best to use layout changed only when theres a major change to your interface, as pulling focus too often can make people confused and lose context inside your app.
To post an accessibility notification, you can use post(notification:argument:) on UIAccessibility:
static func post(notification: UIAccessibility.Notification,
argument: Any?)Learn more about accessibility notifications >
Next steps
When you make these improvements to your app, youre not only unlocking better VoiceOver support, youre also laying the groundwork for our other assistive technologies like Switch Control and Full Keyboard Access. So go, explore, and make your apps accessibility experience a great one because technology is most powerful when it empowers everyone.
Resources
Learn more about VoiceOver gestures >
Watch Writing Great Accessibility Labels >
Watch Making Apps More Accessible With Custom Actions >
More...


Bookmarks